 |
| Found this guy under the house. |

 |
| New floor duct return boot. This section of ducting was on the ground in pieces. |

 |
| Put the cross braces in on the floor joists. |

 |
New bracing and sealed connections.  Starting to repair subfloor planks. |


 |
| Wall between bathroom and master bedroom. |
 |
| Framed a door entry so the master will have a door into the one bathroom in the house. |


 |
So the 2x4 in this pic is not supporting anything the previous owner had nailed it to the subfloor planks and had the plywood from the other side resting on it. So I had to cut all this floor away. Which was good because I found the bathroom duct was not even connected. |

 |
| So I bought 3.5 ton rv jacks because the space from the ground to beam was only 6.5 inches. Unfortunately this was no where near enough weight to lift a section of a house. |
 |
| Small spot where previous owner dug out enough space to sit up and work. Silver box is old in floor furnace, still deciding if i want to mess with removal? |
 |
| Main support beam left side of the house. I need to put a secondary support there because the beam is sagging there a full inch. Hard to tell in the photo. |
 |
| First jack is 6 ton. Not enough I would soon find out. |
 |
| Found a black 20 ton stubby jack at Lowes so I bought a couple. Worked like a charm! These two jacks lifted that beam around an inch. |
 |
| New 6 x 6 Support post is in place. |
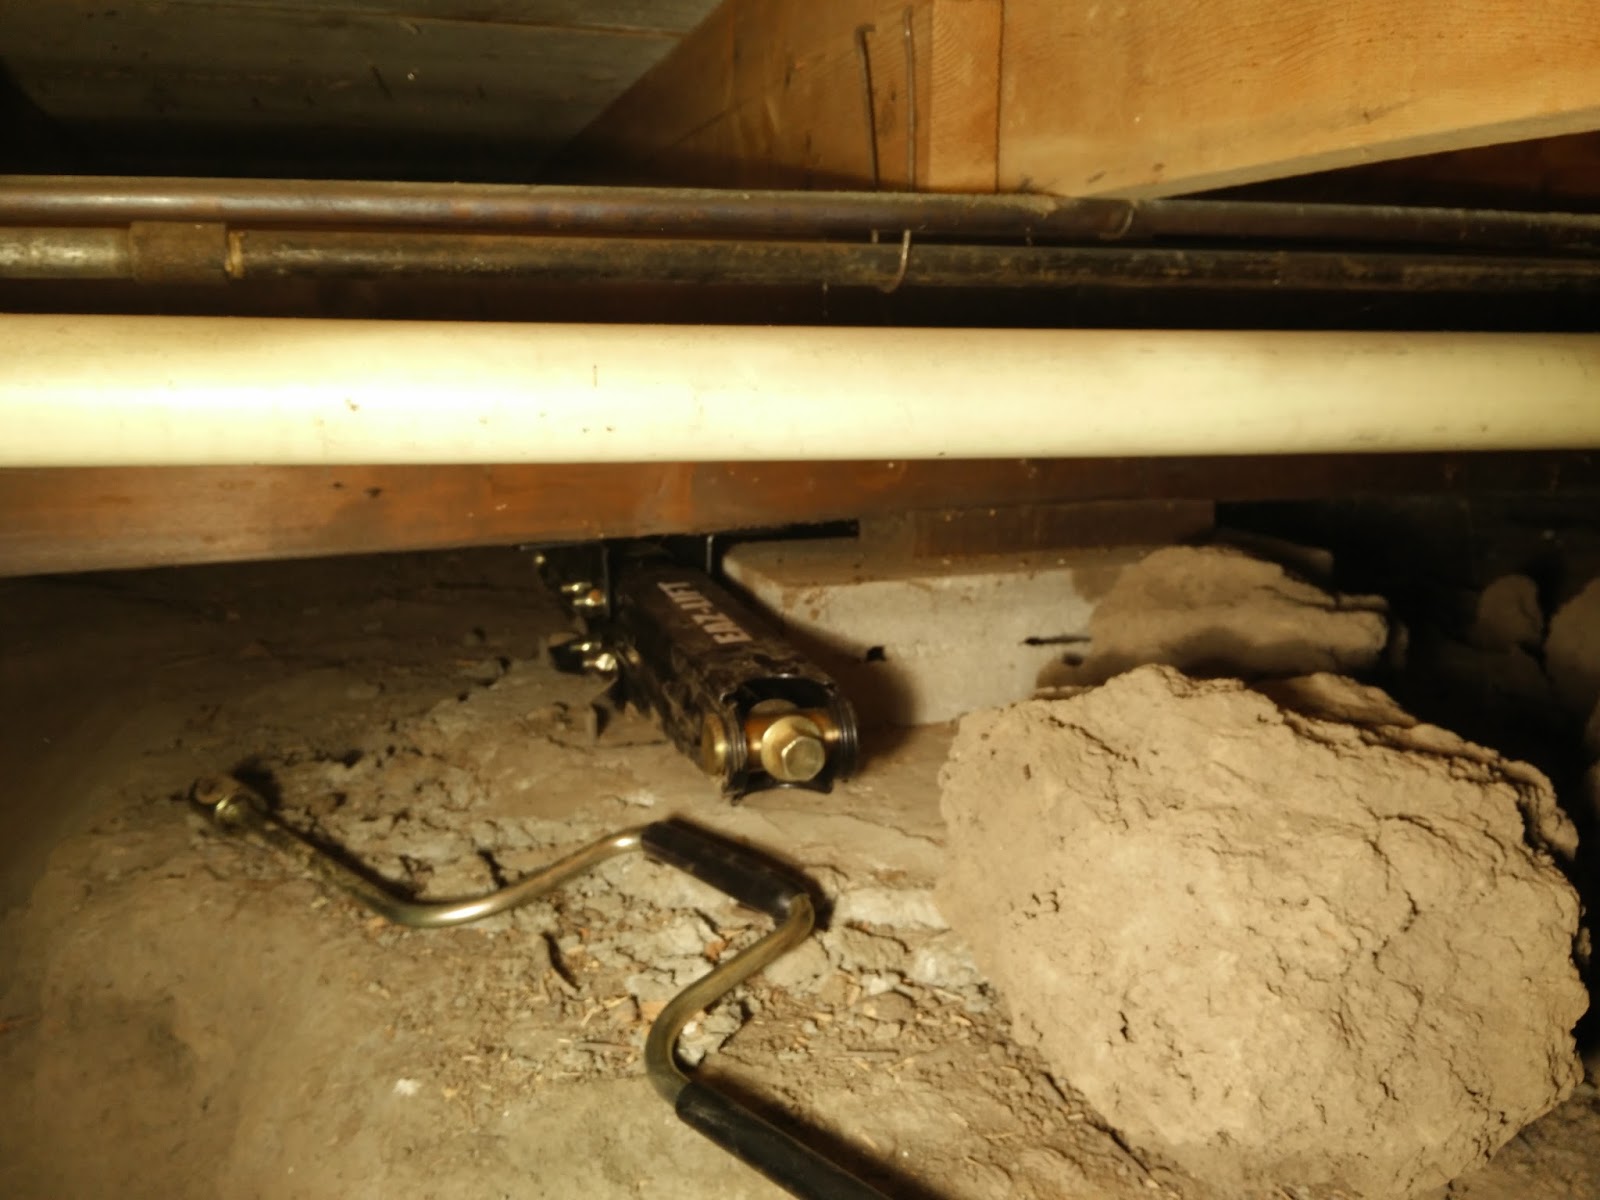 |
| Hard to tell but that is a cement block on a poured cement pad. This is one of two primary supports that need to be raised. The scissor jack is no match for this project. |
 |
| So this a stubby jack on the right side of the primary support. |
 |
| You can see in this picture the new solid concrete block and wood shims I put in place of the old primary support. |
 |
| Another picture of one of the primary supports I replaced. |
 |
| Last pic of new support. In the background you can see the two jacks. That is where I put the first secondary support post. |
 |
| Pulled out shower doors and all the ceiling and floor trim. Eventually will tear out privacy wall. |
 |
| Got into the wall to look at wiring. Bathroom will need to be redone. |

 |
| Removed all the wood paneling from pantry and back wall. |
 |
| Luckily there was sheetrock behind paneling. If it is salvageable is another question. |


